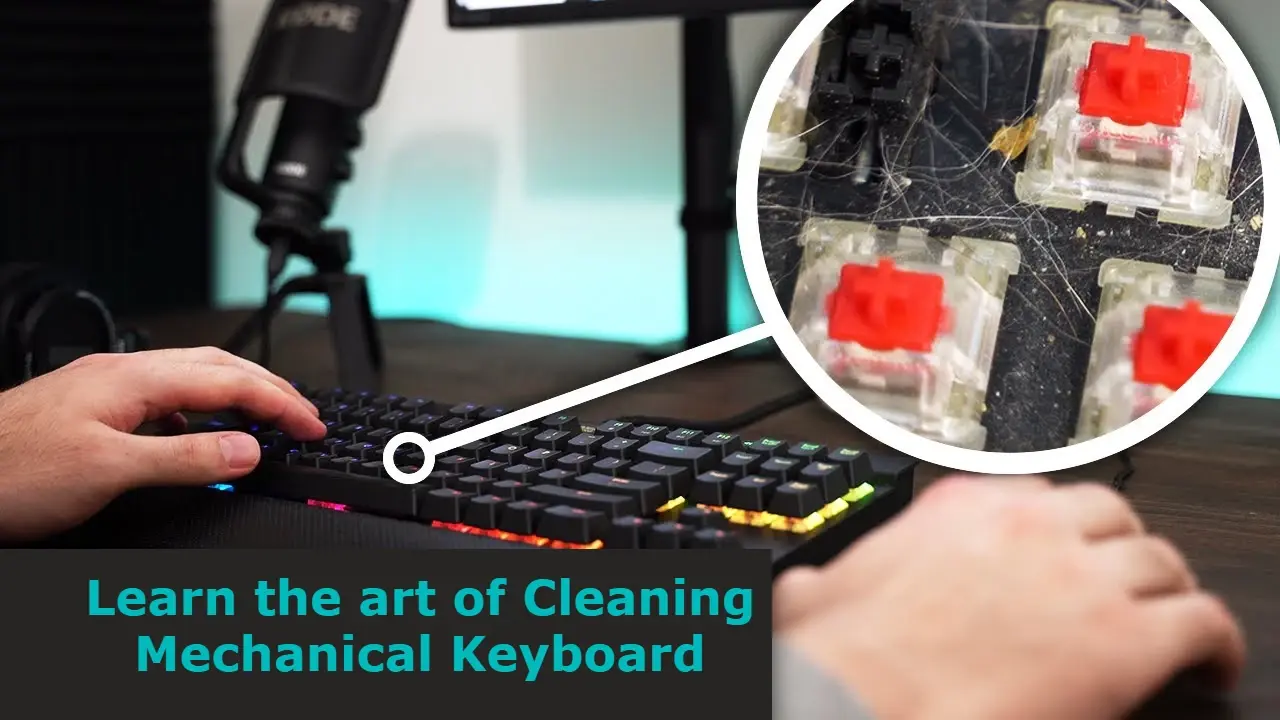
When it comes to computer peripherals, Mechanical Keyboards have gained immense popularity due to their durability and tactile typing experience. However, over time, mechanical keyboards can accumulate dirt, dust, and debris, affecting their performance and longevity. Regular cleaning is essential to maintain the keyboard’s functionality and aesthetics.
In this guide, I’ll assist you with how to clean a Mechanical Keyboard. So it won’t affect performance and proves its longevity.
Why It’s Important to Clean a Mechanical Keyboard?
A mechanical keyboard consists of various components, including keycaps, switches, and the keyboard frame. Dust, crumbs, and other particles can find their way into these components, leading to sticky or unresponsive keys, inconsistent typing experience, and even malfunctions. Regular cleaning not only enhances the keyboard’s performance but also extends its lifespan, ensuring you get the most out of your investment.
Read about> How to clean Laptop’s keyboard
Tools and Materials Needed to Clean a Mechanical Keyboard
Before we dive into the cleaning process, gather the following tools and materials:
- Compressed air canister
- Isopropyl alcohol (at least 70% concentration)
- Cotton swabs
- Microfiber cloth
- Keycap puller or wire keycap remover
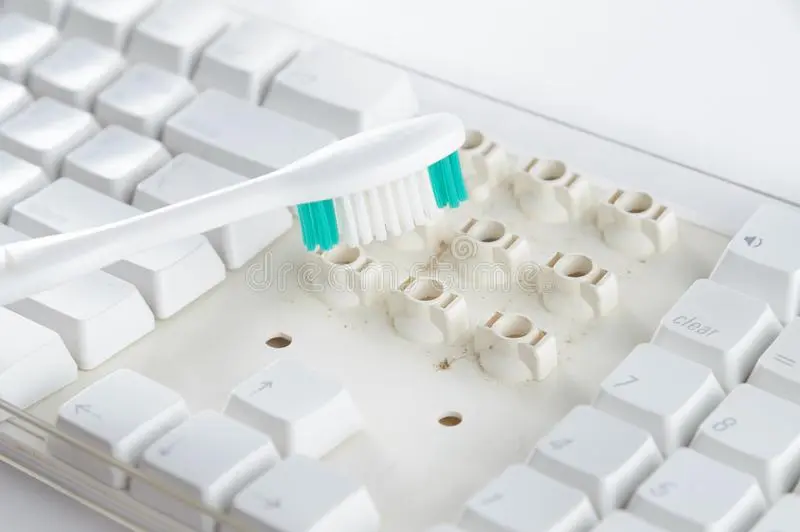
- A small brush (e.g., soft-bristled toothbrush)
- Bowl of warm water (optional)
- Mild dish soap (optional)
Things to Consider Before Cleaning
Consider the below points more importantly before cleaning.
- Disconnect the keyboard: Unplug the keyboard from your computer to avoid accidental keystrokes or electrical damage.
- Refer to the manual: If available, consult the manufacturer’s manual for specific cleaning instructions or any warnings to be aware of.
- Take a photo: If you’re unfamiliar with the keyboard’s layout, take a photo beforehand to ensure proper reassembly.
Step 1: Disconnect Keyboard from the computer
Begin By Disconnecting The Keyboard From Your Computer. This Prevents Any Accidental Input During The Cleaning Process. Place A Clean Cloth Or Towel On Your Work Surface To Protect The Keyboard From Scratches Or Scuffs.
Step 2: Removing Keycaps
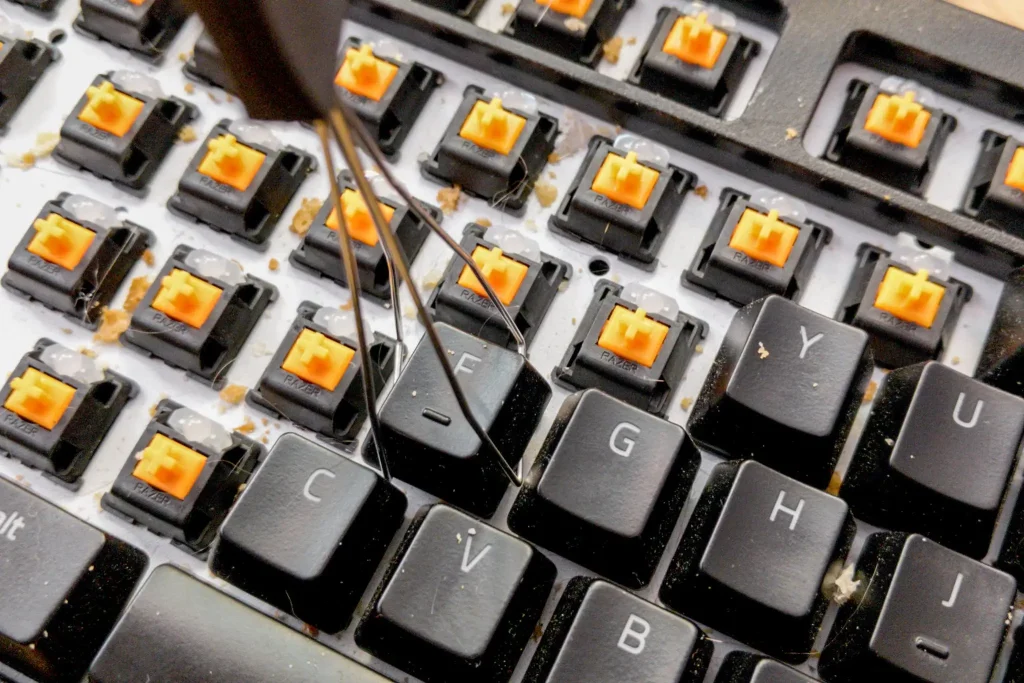
To thoroughly clean the keyboard, it’s best to remove the keycaps. Use a keycap puller or wire keycap remover to gently lift the keycaps from the switches. Place the keycaps in a bowl of warm, soapy water if needed.

Step 3: Cleaning Keycaps
Clean the keycaps by gently scrubbing them with a soft brush or cloth soaked in warm, soapy water. Rinse the keycaps under running water and let them air dry completely. Avoid using excessive force or harsh chemicals that may damage the keycaps.
Step 4: Cleaning the Keyboard Frame
Using a compressed air canister, blow away any loose debris or dust from the keyboard frame. Be thorough in cleaning the areas between the switches and around the edges. For stubborn dirt or residue, lightly dampen a cotton swab with isopropyl alcohol and carefully clean the affected areas.

Step 5: Cleaning the Switches
Cleaning the switches requires caution to avoid damaging the delicate mechanisms. Take a cotton swab and dampen it with isopropyl alcohol. Gently insert the swab between the switches and clean the surrounding areas, removing any dirt or grime. Be careful not to apply excessive pressure or let any liquid drip into the switches.
Step 6: Cleaning the Plate
The plate underneath the switches can also accumulate debris. Use a compressed air canister to blow away any loose particles. If there are stubborn stains or residues, lightly dampen a cotton swab with isopropyl alcohol and carefully clean the plate. Take care not to saturate the swab with excessive liquid.
Step 7: Reassembling the Keyboard
Once all the components are clean and dry, it’s time to reassemble the keyboard. Start by placing the keycaps back onto the switches, ensuring they align properly. Press down gently until they snap into place. Double-check the photo you took earlier if needed.
Step 8: Post-Cleaning Care
After cleaning, it’s essential to take some additional steps for optimal maintenance:
- Let the keyboard dry completely: Ensure that all components are thoroughly dry before reconnecting the keyboard to your computer. Moisture can cause damage and affect performance.
- Regularly clean your workspace: Keep your work area clean and free from dust and debris to prevent them from settling back onto your keyboard.

Tips for Maintaining a Clean Mechanical Keyboard
To maintain a clean and well-functioning mechanical keyboard, consider the following tips:
- Regular cleaning: Establish a cleaning routine depending on your usage frequency. A monthly or quarterly cleaning schedule can help keep your keyboard in top shape.
- Use a keyboard cover: Consider using a keyboard cover when not in use to prevent dust and debris from settling on the keys.
- Avoid eating or drinking near the keyboard: Food crumbs and liquid spills can cause significant damage to the keyboard. Keep snacks and beverages away from your workspace.
- Wash hands before use: Clean hands reduce the transfer of oils and dirt to the keyboard, minimizing the need for frequent cleaning.
check out the Best Mechanical Keyboards
FAQs
Conclusion
Cleaning a mechanical keyboard is a straightforward process that can significantly enhance its performance and lifespan. If you follow the above steps you would be able to clean a mechanical keyboard next time by yourself. Keep in mind, caution and important points to clean keyboard components properly.
Finally, Make sure your keyboard is completely dry before you connect to your computer. This tip will save any sort of damage that could be done unintentionally.

Mia Darren is a well-known name in the world of technology journalism, serving as the co-founder of the popular website Technob. With a passion for all things tech-related, Mia has been writing about the latest gadgets, software, and digital trends for over a decade.
Her articles are widely recognized for their insightful analysis, engaging writing style, and commitment to providing readers with accurate, up-to-date information. Mia’s expertise in the tech field has earned her a reputation as one of the industry’s most respected voices, with many turning to her for guidance and advice on a wide range of topics.
Her dedication to the field and her commitment to helping others understand the complexities of modern technology have made her a beloved figure among her colleagues and fans alike.
Whether she’s writing about the latest smartphone release or offering tips on how to stay safe online, Mia’s work is always informative, engaging, and accessible. Her contributions to the world of tech journalism have helped shape the way we think about and interact with technology, and her influence is sure to be felt for years to come.


